
Chris Craft Rebuild
Page 1
|
This is a report on the progress of the restoration both for the owner and anybody who is interested. I am pacing the progress to 15 to 20 hours per week. The project was started on October 5, 2004 and this page will be updated every week. I do not have any information about the model, year built, or how the finished boat should be outfitted. I am appealing to you viewers to provide this information. You can email me at steve@star-distributing.com to provide any information you may have. Thanks,Steve Ray |
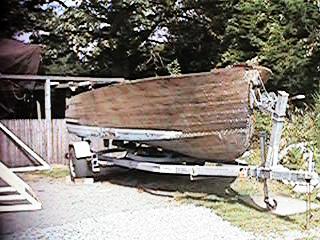
Here are some pictures of the boat upon arrival.
|

|
This project is revealing the history of the craft

|
The first step of any restoration project is to protect it from weather. After removing the boat from the trailer I leveled it for and aft as well as side by side. Side by side leveling was achieved by using a 4' carpenters level (at every other frame pairs) across the engine bed logs that are running parallel to the boats keel. The fore and aft leveling as achieved by using the water line as a guide. Eliminating twist is very important. New woodwork installed into a twisted boat will make the twist permanent!
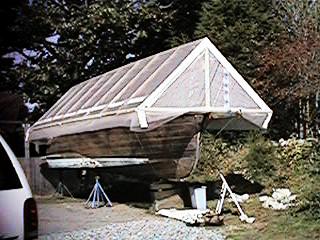
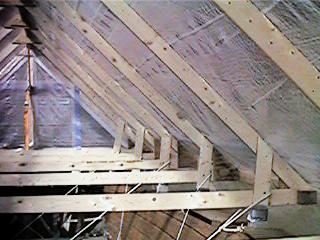
I immediately constructed this roof of ferring strips and reinforced plastic. I had chosen reinforced clear plastic to enable the maximum amount of solar heating. Winter in New England is coming and I want the work environment to be somewhat comfortable. When it's snow season I'll add walls. |
|
|

|
|
| I built the trusses using plywood gussets as the connectors. Screwing from plywood to the ferring strips minimizes splitting of the ferring strips. Finally I leveled the structure and supported it on the sheer of the boat. The light weight of the roof supported this way allows unfettered access to the hull for exterior work. I tied down the roof to the boat both diagonally and vertically to protect from wind damage. Finally I added the carpet on the feet to protect from splitting and scratching. The 45 degree roof pitch will allow snow shedding and avoid build up. |
Week Two
Removal of stem piece
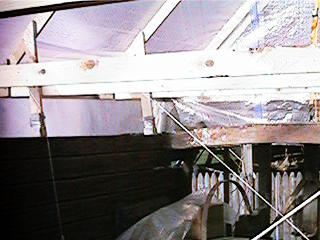
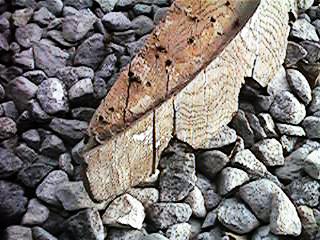
| Upon removal of the trailer I noticed rot on the underside of the keel just back of the stem piece. The stem was suspect all along due to the severe cracking around the fastening holding it in place. I proceeded to unfasten the planking back to the second frame. This allowed enough room to remove the splines (wood behind the planking seams where the planks are screwed to) and chine logs from the stem. Many fasteners either broke or pulled out of the stem during removal. This indicates both rot in the stem as well as the loss of the zinc in the bronze screws. Bronze screws should be replaced every 20 to 25 years due to these problems. |

|

|
|
|
| As you can see in the picture above my suspicion was correct. The close up of the stem heel shows severe cracking and decay. I suspect the boat had a collision and or run up on a beach many times opening the wood to water and bacteria. Then when it was stored on the trailer, the bow was down and rain water was draining through this joint. The final picture shows how I access the interior. |
Week Three
Repair of keel
| Page 1 | Page 2 | Page 3 |
Email this article to a friend.
This article is sponsored by:
Star Distributing