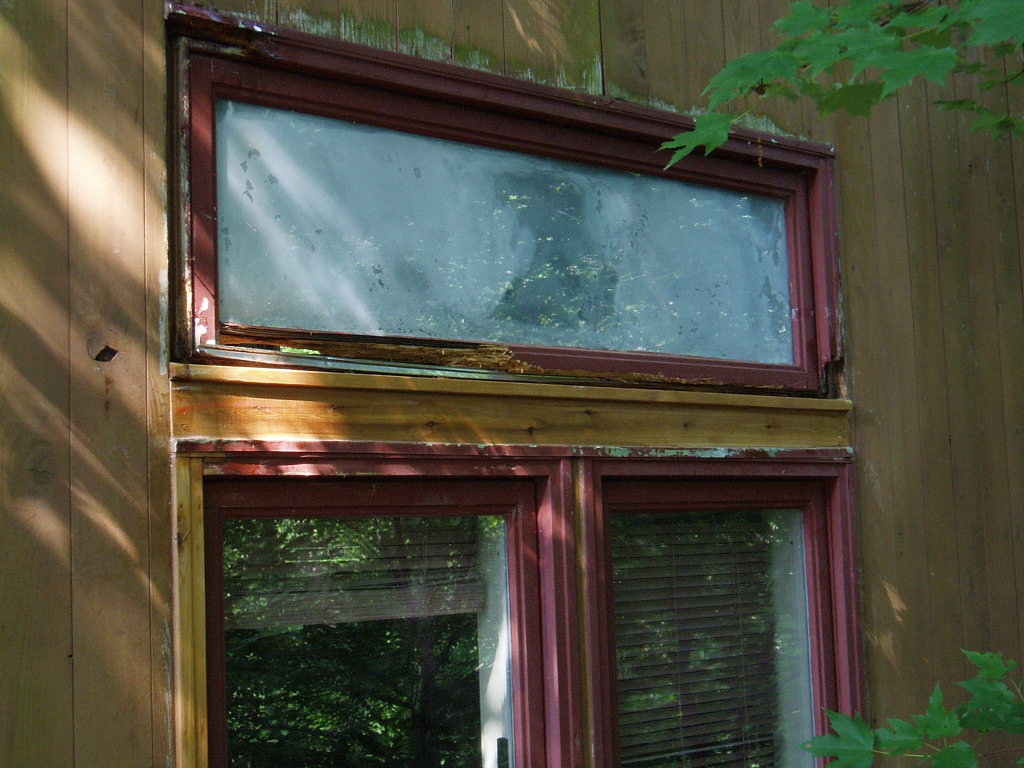
| This first one shows the house I'm working on. From a distance all looks well. |

|

|
|
|
|
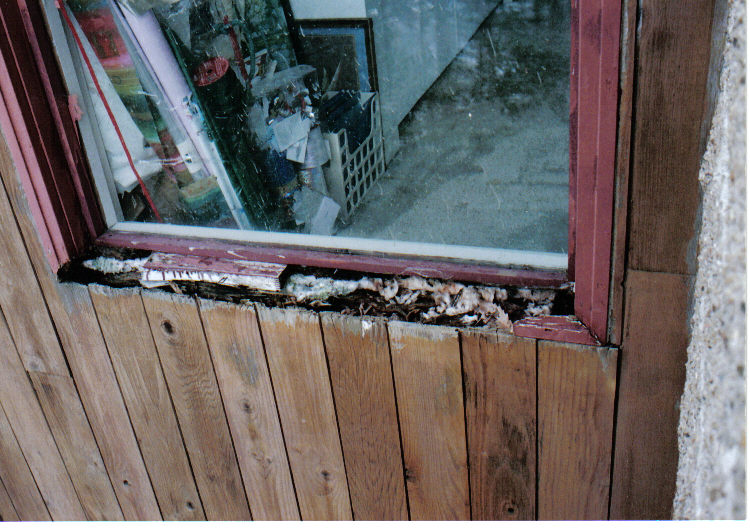
A closer look reveals window sills that have been totally eaten by rot.
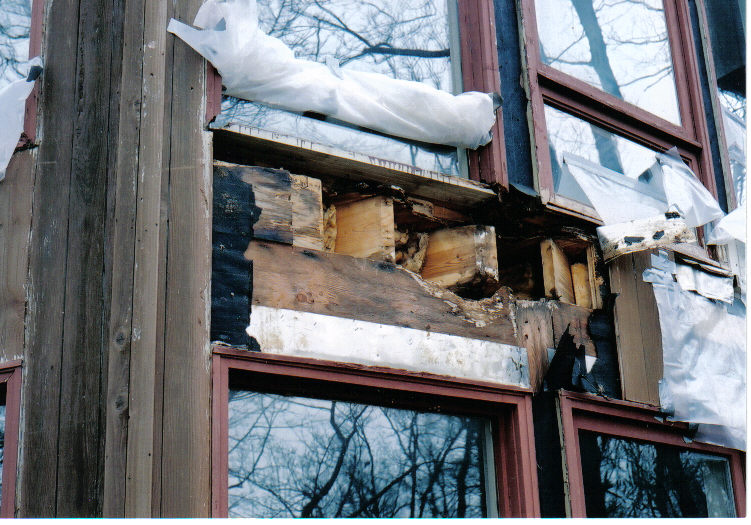
The below pictures reveal extensive damage under the siding. On the right is the begining of the restoration process. After treating the existing wood with the Multiprime and allowing to dry, I trowled in a mixture of Layup and Laminating Epoxy and sawdust. I held this in place during cure with sheetrock dams covered by plastic and screwed into the wood. |
|

|

|
| Finally I supported the support beam on top of a wood block and the epoxy sawdust mixture. |
Other side of house
| Here we are restoring a window frame by removing the bulk of the rot and the sill. The two pictures below show the damage on the corners after removal of the sill. This job was easier to fix by making a whole new bottom piece for the frame. |

|

|
|
|
|
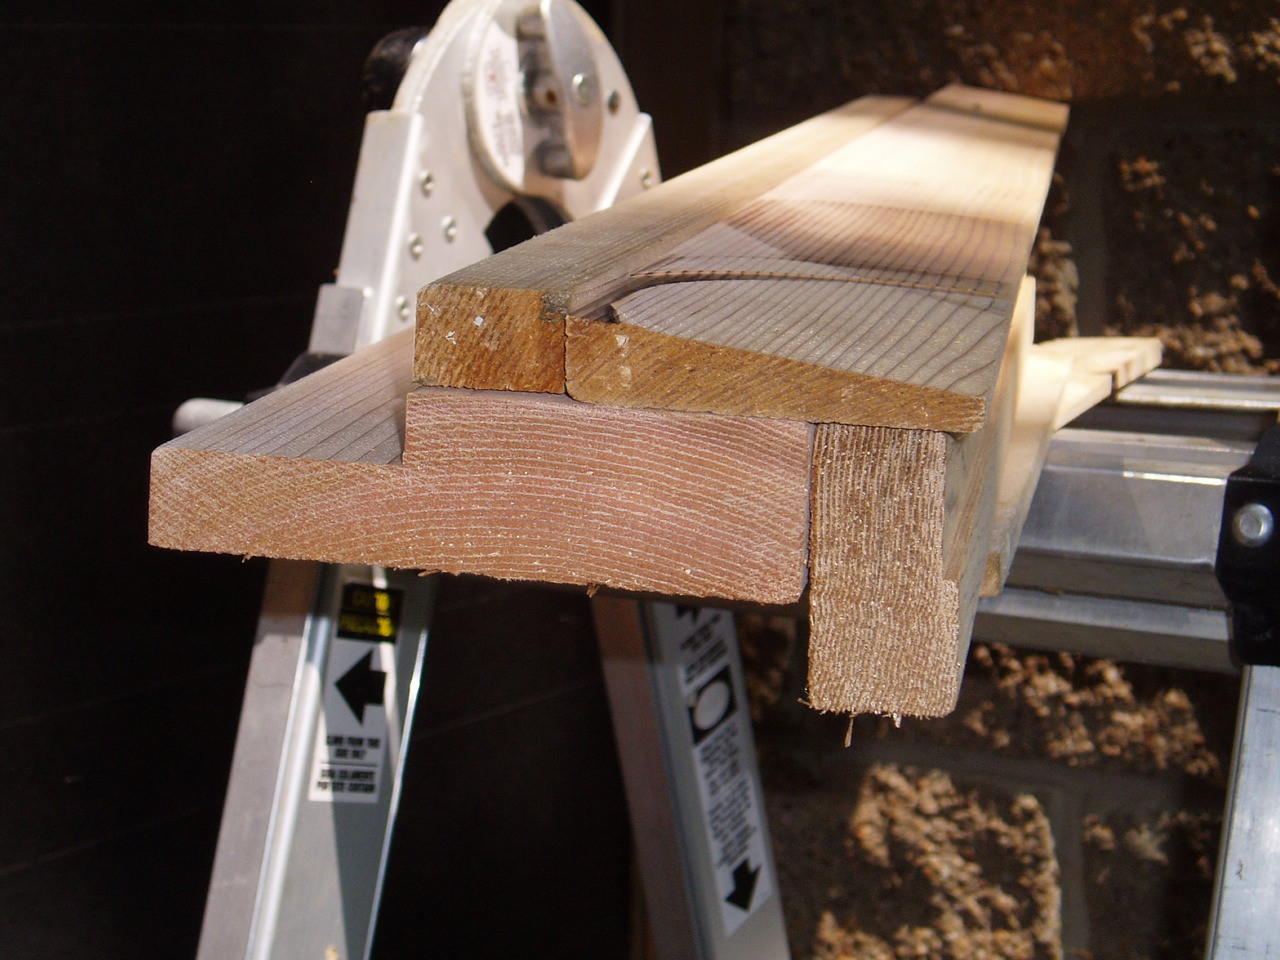
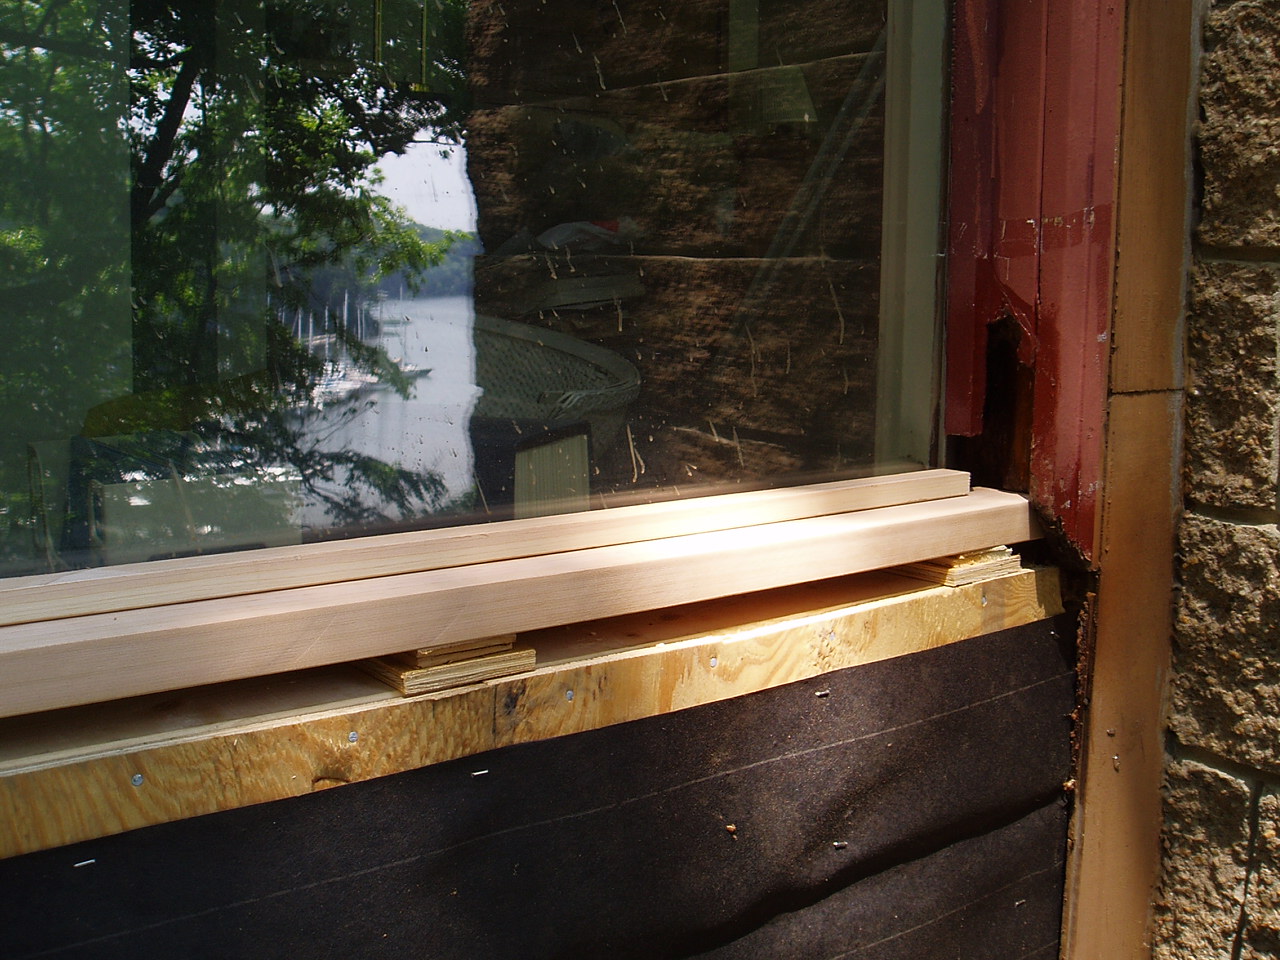
I've made new sills of Western
Red Cedar in the end-grain photo. On the right is the new sills installed. The
remaining frame is treated with the Multiprime.
On the left I have created sheetrock dams to hold back the epoxy sawdust mixture. The picture on right is the after cure view. |

|

|

|
|
|
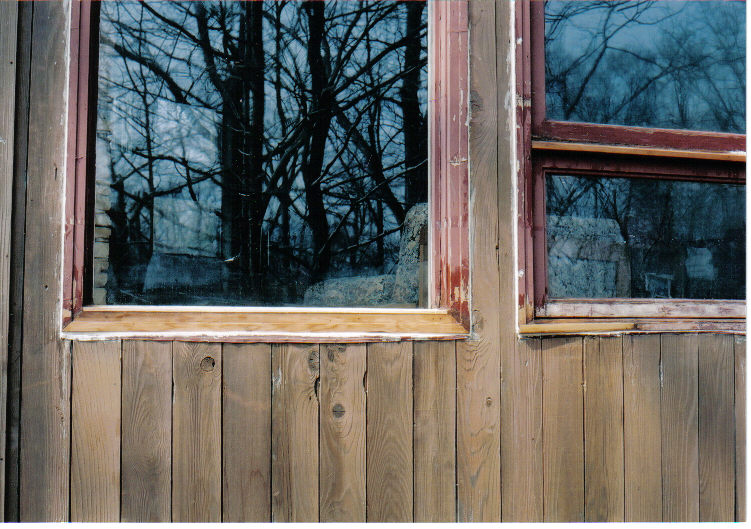
Finishing up requires the replacement of the siding. Finally new caulking is
applied to seal the windows to the siding. One more coat of Multiprime and the
sills are ready to paint, Since those photos were taken I've discovered a quicker way to make the "epoxy dams". I cut little pieces of wood about the size of paint stir sticks. They're about an inch wide... made to match the brick molding steps. The last 30 windows involved a lot of rotten corners where the bottom two inches of the brick molding side trim was rotted. Anyway it was quick to stuff the holes with my epoxy/sawdust mixture and then use a Staple Gun to attach the plastic-wrapped strips of wood.... instead of using the sheetrock screws shown in the photos. |
This repair job was submitted by:
Darrel TracyQuaker Crafts
Siler City, NC
QuakerCrafts@embarqmail.com
Email this article to a friend.
This article is sponsored by:Star Distributing